

AgentOps helps developers see inside their AI agents by logging every prompt, action, and cost. This review explains how it works, its features, setup, and why it’s becoming the go-to debugging tool for AI developers.
The AI Blog Writing Formula That Generated 1M+ Views Last Month!

In the digital age, AI-powered tools are transforming blogging by enabling creators to produce captivating, data-driven content that maximizes audience engagement and boosts the potential for viral success.
Step 1: Choose Your Blog Niche

NurPhoto
Choosing your blog niche is like picking a flavor for your ice cream shop - it needs to be something you love and that others crave too. Start by asking ChatGPT to whip up a list of 10 potentially viral and profitable blog niches2.
Then, put on your detective hat and evaluate each idea. Is it a topic that makes your heart sing? Does it have a crowd of hungry readers waiting to devour content? Are people actively searching for this information online?3 To get started, log into ChatGPT and use this magic spell: "Generate 10 profitable blog niche ideas that have the potential to go viral."
Once you have your list, consider niches like digital marketing, tech and AI, or health and fitness, which are predicted to be hot topics in 2025 4. Remember, the perfect niche is where your passion meets market demand - it's the sweet spot where your blog can truly shine and potentially go viral5.
Step 2: Check If Your Niche Is Popular
keyword.com
Think of Google Trends and BuzzSumo as your trusty crystal balls for peeking into the future of your chosen niche. Google Trends is like a popularity contest for ideas - it shows you if your niche is the cool kid on the block or yesterday's news 1. Just type in your niche idea and watch for an upward trend. If it's climbing, you're onto something hot! Next, hop over to BuzzSumo, your social media spy tool 2.
It's like eavesdropping on what everyone's talking about at a giant online party. Type in your niche topic and see which articles are getting the most shares. If you see lots of shares, it's like finding a goldmine - you've struck a popular niche! Remember, a niche with lots of buzz is more likely to help your blog posts go viral, like a catchy tune everyone can't stop humming 34.
Step 3: Pick a Blog Name & Buy a Domain

Arnel Hasanovic
Picking a blog name is like choosing a superhero alias for your online identity. It needs to be catchy, memorable, and reflect your niche. To start your quest, head over to Namecheap, the trusty sidekick for domain hunters1.
Type in your blog name ideas and watch as Namecheap reveals whether your chosen domain is available or already taken by another digital crusader. If you're stuck for ideas, don't fret! Summon the power of ChatGPT with this magic spell: "
Generate 10 catchy domain name ideas for a blog about [your niche]." Once you've found an available .com domain that resonates with your blog's mission, claim it for a mere $10-$15 per year1. Remember, your domain name is your blog's bat signal - make it shine!
Step 4: Get Web Hosting
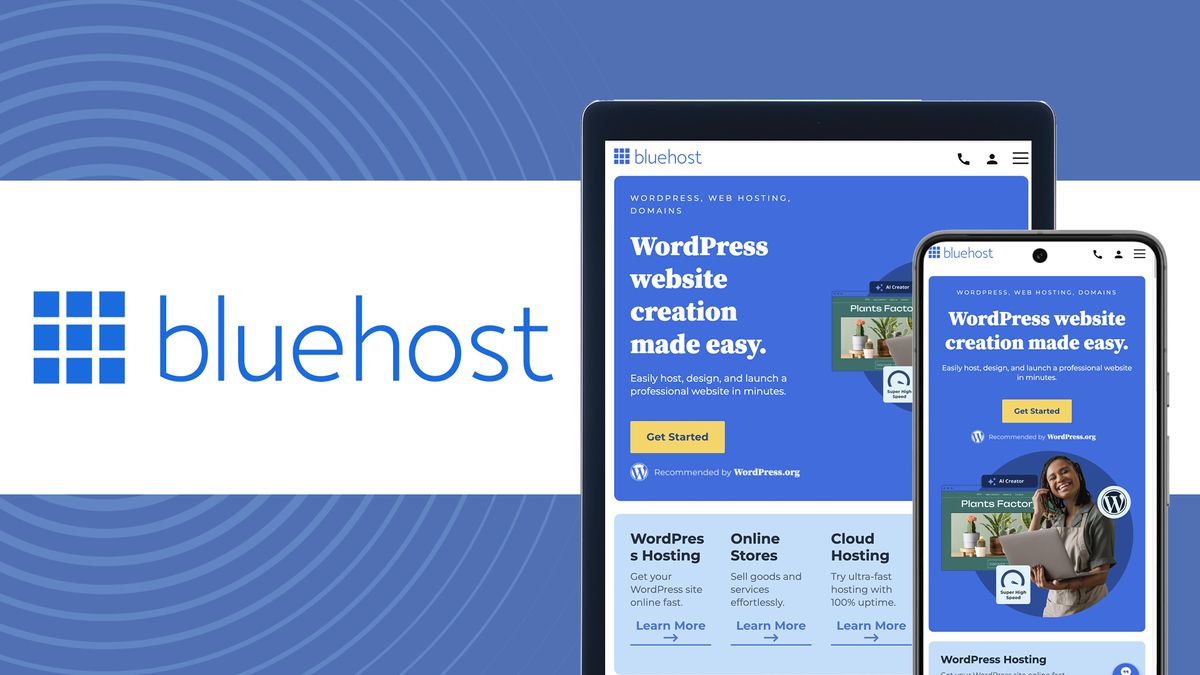
techradar.com
Think of web hosting as renting a cozy apartment for your blog on the internet. Bluehost is like a friendly landlord who offers affordable, beginner-friendly spaces. To get started, visit Bluehost's website and click the "Get Started" button - it's like opening the door to your new digital home.
For new bloggers, the Basic Plan is perfect - it's like a studio apartment with all the essentials. It costs just $1.99 per month for the first year and includes one website, 10 GB of storage, and a free domain name for a year 2 3.
Plus, Bluehost throws in some nice housewarming gifts: a free SSL certificate (think of it as a security system) and a one-click WordPress install (like having your furniture pre-assembled)1. When filling out your details, opt for the 12-month plan to save money - it's like getting a discount for a longer lease!
Step 5: Install WordPress

WebFactory Ltd
Installing WordPress on Bluehost is like setting up a new smartphone - it's mostly automated and user-friendly. First, log into your Bluehost account and navigate to "My Sites." Click "Create Site" to start the process, which is like pressing the power button on your new digital device1.
Enter your blog's name and tagline - think of this as personalizing your phone's home screen. Select the domain you bought earlier, then hit "Install WordPress."
Bluehost will work its magic, installing WordPress faster than you can say "blog." Once it's done, you can log into your shiny new WordPress site by visiting yourdomain.com/wp-admin2. It's that simple - you've just unboxed and set up your new blogging platform!
Step 6: Choose a WordPress Theme
blog.raidboxes.io
Choosing a WordPress theme is like picking out an outfit for your blog - you want something that looks great and fits just right. Astra is like that perfect versatile outfit that's both stylish and comfortable. To get started, head to your WordPress Dashboard and click on "Appearance" then "Themes." It's like opening your digital wardrobe.
Click "Add New" and search for Astra - it's the popular kid in the theme world with over a million active users 1. Once you find Astra, click "Install" and then "Activate." It's as easy as trying on a new shirt! Astra is lightweight, meaning your blog will load faster than you can say "viral content" 2.
It's also SEO-friendly, helping your blog get noticed by search engines, and beginner-friendly, so you won't need a PhD in web design to make your blog look amazing 3. Plus, Astra comes with pre-built layouts, making it a breeze to create a stunning website without breaking a sweat 3.
Step 7: Install Essential Plugins

Justin Morgan
Installing essential plugins for your WordPress blog is like adding superpowers to your website. Let's look at three must-have plugins that will boost your site's performance and functionality:
| Plugin | Function | Benefits |
|---|---|---|
| Rank Math SEO | Improves search engine optimization | Helps your blog rank higher in Google search results1 |
| WP Rocket | Speeds up your website | Enhances user experience and potentially improves SEO2 |
| Elementor | Drag-and-drop page builder | Allows easy creation of professional-looking pages without coding3 |
To install these plugins, go to your WordPress Dashboard, click on "Plugins," then "Add New." Search for each plugin by name, click "Install," and then "Activate." It's as simple as downloading apps on your phone! These plugins work together to improve your blog's SEO, speed, and design capabilities, giving you a professional-grade website without needing to write a single line of code 4 5.
Step 8: Create a Homepage & Blog Page

Kevin Bhagat
Creating a homepage and blog page for your WordPress site is like setting up the front door and living room of your digital home. First, head to your WordPress Dashboard and click on "Pages" then "Add New" - it's like opening a new room in your house1. Title the first page "Home" and hit "Publish" - this will be your welcoming entryway2.
Now, repeat the process to create a "Blog" page - think of this as your cozy living room where all your posts will hang out. Once you've published both pages, go to "Settings" then "Reading" and set your homepage to "Home" and your posts page to "Blog"4.
This tells WordPress how to arrange your digital furniture. Voila! Your site now has a stylish homepage to greet visitors and a dedicated space for your blog posts to shine5. Remember, you can always redecorate later by customizing these pages with your chosen theme and plugins6.
Step 9: Customize the Homepage with Elementor
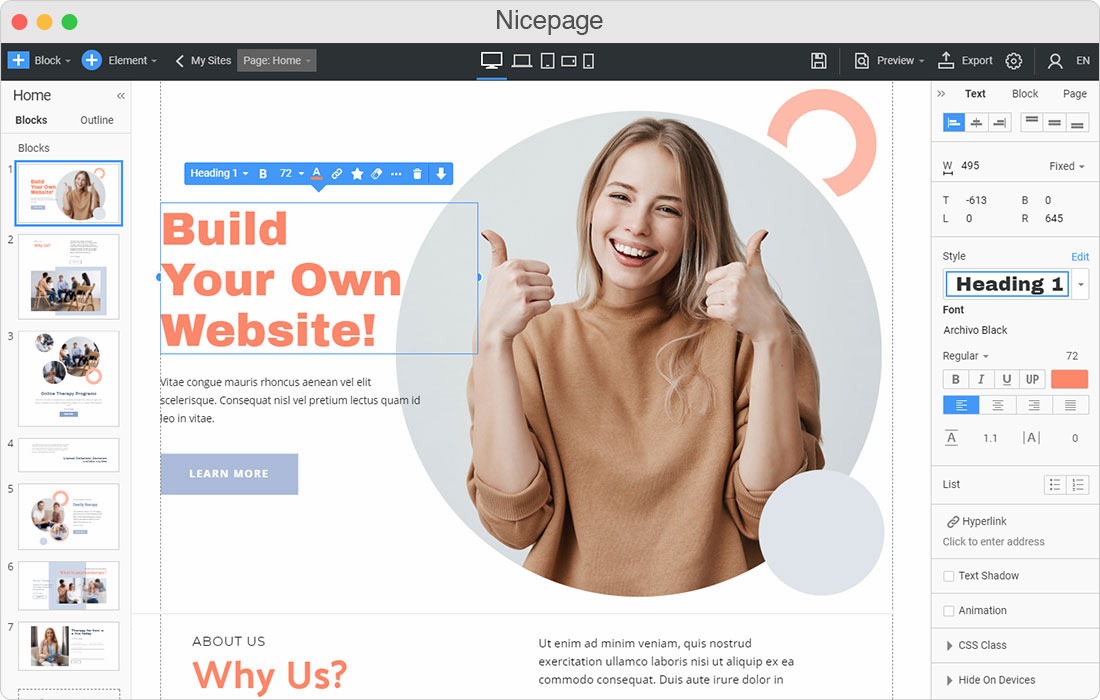
nicepage.com
Customizing your homepage with Elementor is like playing with digital LEGO blocks - it's fun, easy, and you can create something amazing without any coding skills. To start, go to your WordPress Dashboard, click on "Pages," then "Home," and hit "Edit with Elementor."
This opens up your magical drag-and-drop playground. First, let's build a hero section - think of it as your blog's billboard. Drag in a heading widget for your catchy title, then add an image widget for a stunning visual.
Next, create a blog post preview section to showcase your latest content. It's like setting up a mini bookshelf of your recent works.2 When you're happy with your design, just click "Update," and voila!
You've just created a professional-looking homepage that'll make visitors want to stick around and explore your blog. Remember, Elementor lets you easily rearrange these blocks anytime, so don't be afraid to experiment and find your perfect layout.
Step 10: Add Your First Blog Post
picture alliance
Adding your first blog post is like planting a seed in your digital garden. To get started, head to your WordPress Dashboard and click on "Posts" then "Add New" - it's like opening a fresh notebook12. Give your post a catchy title, which you can get from ChatGPT if you're feeling stuck for ideas.
Next, paste in your article content. Break it up into easy-to-read chunks using H2 and H3 headings - think of these as chapter titles in your blog story34.
Use the block editor to add images, lists, or quotes to make your post more engaging56. When you're happy with how it looks, take a deep breath and click "Publish". Congratulations! Your first blog post is now live for the world to see27. Remember, you can always edit it later, so don't worry about making it perfect on the first try.
Step 11: Use ChatGPT for Blog Topic Ideas

Diego PH
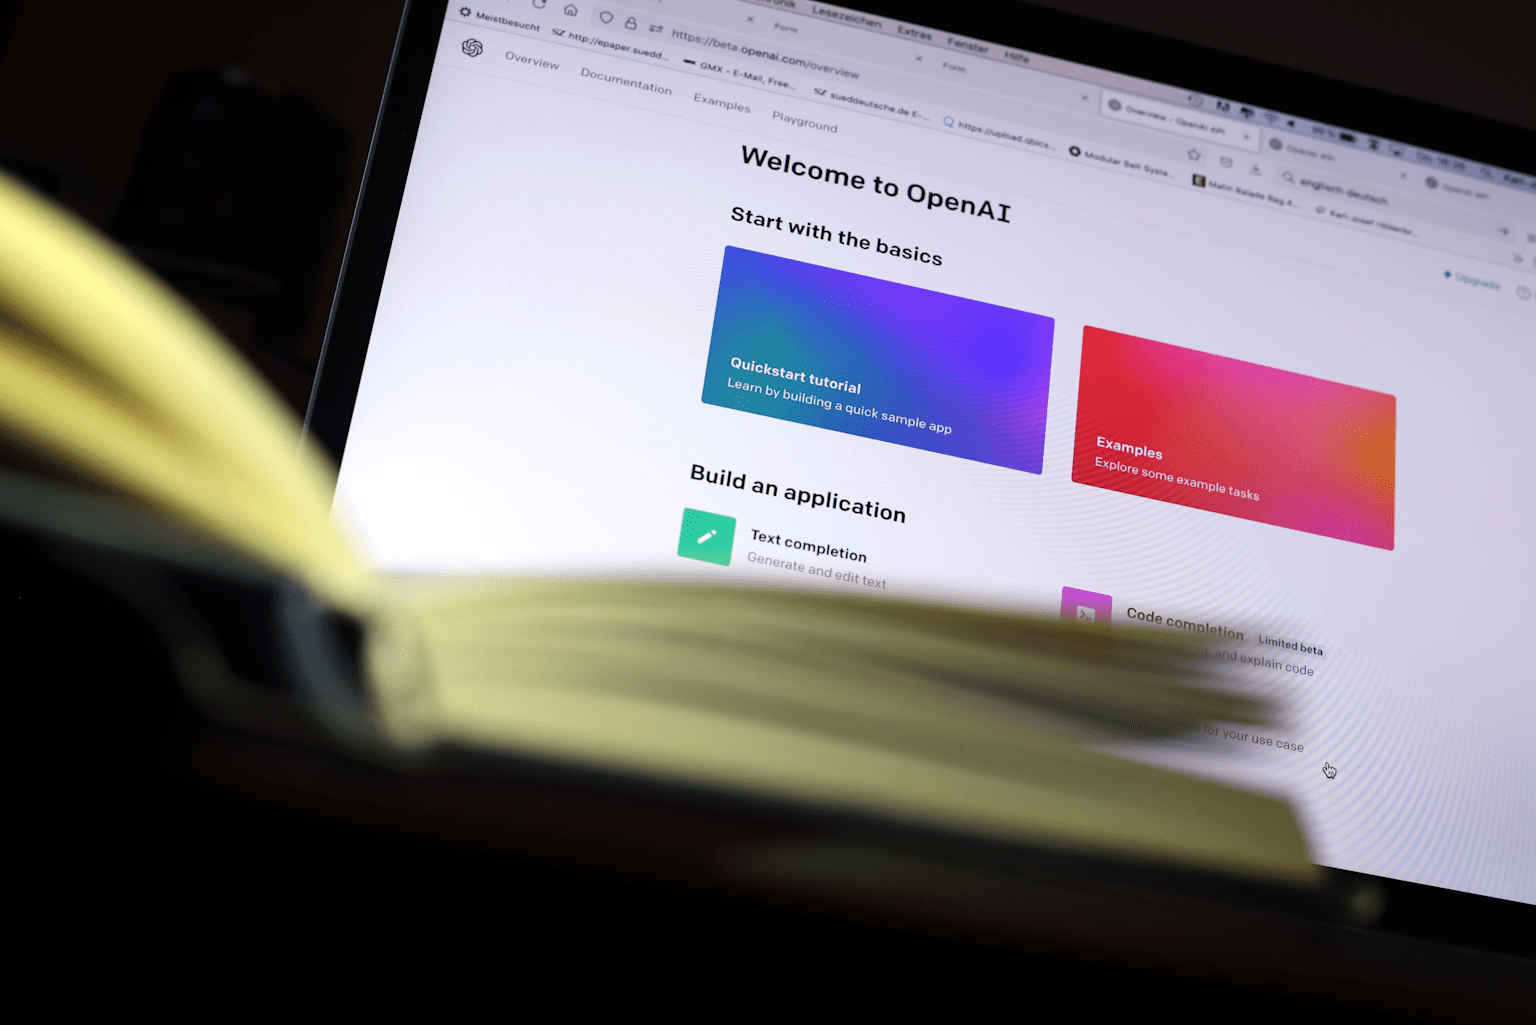
ChatGPT is like your personal brainstorming buddy, always ready with fresh ideas for your blog. To get started, ask it for 10 viral blog post ideas about your niche. It's like shaking a magic 8-ball, but instead of vague answers, you get specific, trendy topics1.
Once you have your list, ask ChatGPT which topics have high engagement potential. This is like having a focus group at your fingertips. Finally, pick a title that sparks curiosity - think of it as crafting a movie trailer for your blog post. Use power words or ask intriguing questions to make readers want to click23. Remember, a great title is like a catchy song hook - it should be impossible to resist!
Step 12: Use ChatGPT & Claude AI to Write Your Blog Post

Glenn Carstens-Peters
Using AI tools like ChatGPT and Claude to write your blog post is like having a super-smart writing assistant at your fingertips. Here's how to make the most of these AI helpers:
- Start by asking ChatGPT to create an SEO-friendly outline for your post. It's like getting a roadmap for your article. Just say "Write a detailed outline for a viral blog post on [your topic] with H1, H2, and H3 headers."12
- Next, take that outline to Claude AI and ask it to flesh it out into a full draft. Think of it as asking Claude to color in the lines ChatGPT drew. Use a prompt like "Expand this outline into a 1,500-word engaging blog post."34
- Once you have the AI-generated draft, put on your editor hat. Read through the content and tweak it to sound more like you. Add personal anecdotes, adjust the tone, and make sure it flows naturally. This step is crucial - it's like adding your secret sauce to make the post uniquely yours and more engaging for readers.56
Remember, while AI can do a lot of the heavy lifting, your human touch is what will make the post truly shine and connect with your audience.
Publish and Track Results

digital.gov
Once you've crafted your blog post, it's time to send it out into the digital world and keep an eye on its performance. Think of this as launching your paper airplane and watching where it flies.
First, hit that "Publish" button in WordPress - it's like opening the window to let your creation soar1. Next, give your post a boost by submitting it to Google Search Console. This is like giving your paper airplane a gentle push. Simply paste your post's URL into the Search Console and click "Request Indexing"23.
This tells Google to come check out your new content ASAP. Finally, use Google Analytics to track your post's journey. It's like having a pair of binoculars to see how far your airplane goes. Keep an eye on metrics like page views, average time on page, and bounce rate4 5.
These numbers will tell you if your post is hitting the mark or needs some tweaking. Remember, blogging success is a marathon, not a sprint, so keep creating, keep tracking, and watch your blog soar!
Conclusion
Congratulations! You've just unlocked the secret recipe for creating viral blog posts using AI. Like a master chef combining the perfect ingredients, you've learned to blend AI tools with your unique human touch to cook up content that's both delicious and shareable1 2.
Remember, viral blogging is part science, part art. Use AI as your sous chef to handle the heavy lifting of research and initial drafting, but don't forget to sprinkle in your personal flavor3 4. Keep experimenting with different topics, styles, and AI prompts - you never know which post might be your next viral hit. Happy blogging, and may your posts spread faster than a cat video on the internet!
